Showing posts with label re-purpose. Show all posts

Tuesday, 27 May 2014

A Mini Blog Post Every Day For A Week - Review


Last week I challenged myself to write a blog post every day for a whole week in an effort to try and get myself back into my internet world!
It feels like it's been ages, but Finn has evolved into a little time sponge, so I need to figure out how much time I can get away with spending online with my work!

I managed to write every day up until the weekend, when things got a bit busy.
So I think my challenged worked, at least showing me when I can dedicate time to my work and when my little time sponge devours all of my free time!
:)


Today

Well, my enthusiasm for the summer has been a little dampened these last few days!
It just won't stop raining out there!
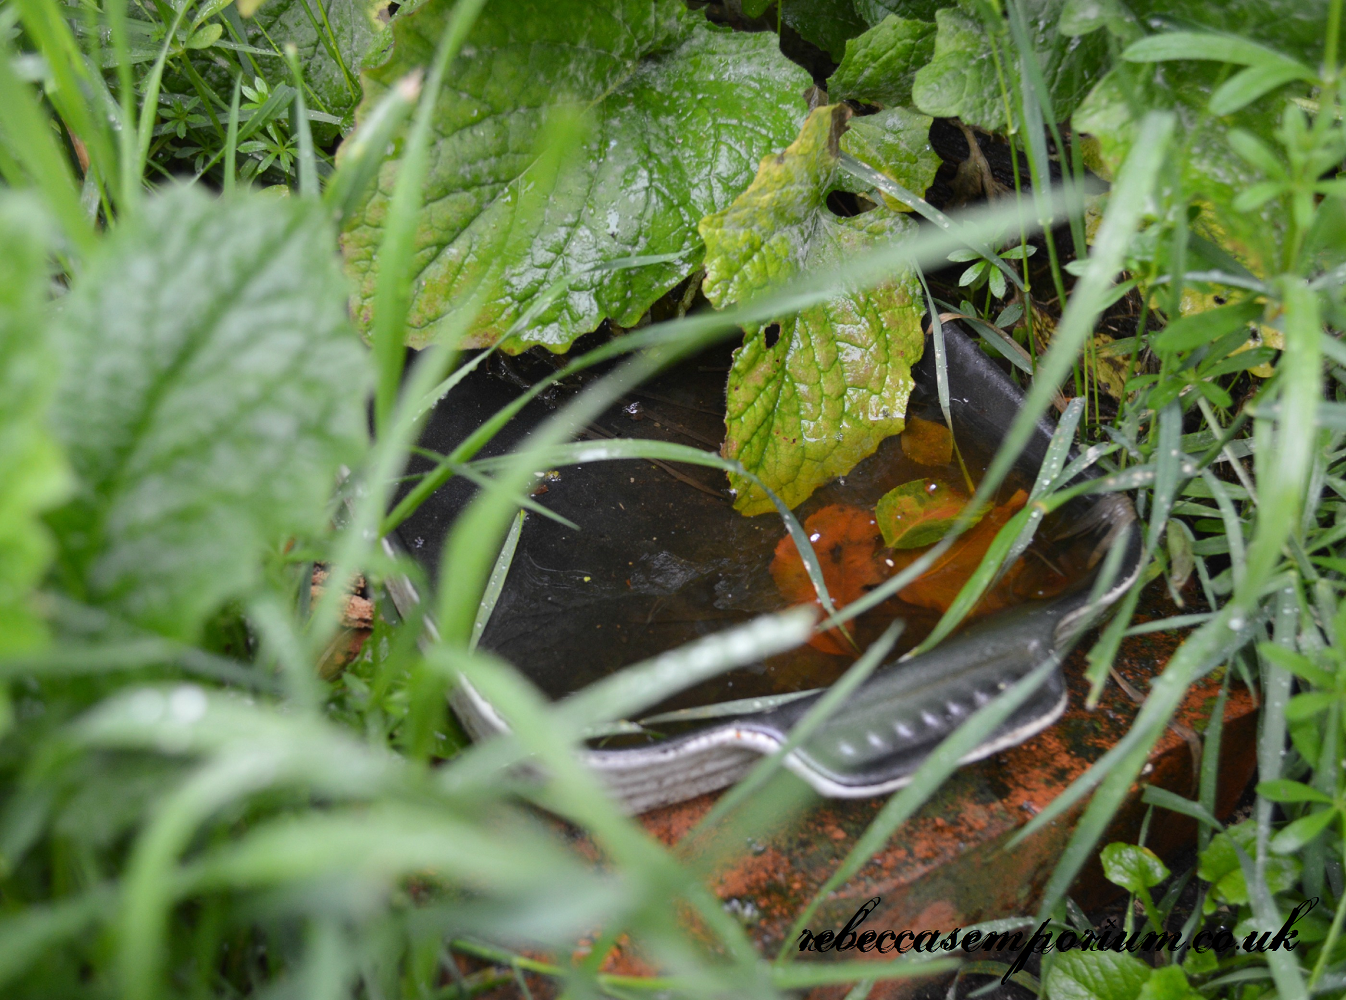
(Yep, that's an old baking tray being used as a bird bath...
When we moved into our new house, we put a lot of our old kitchen utensils to use in the garden. Take a look at my post about starting a herb garden)

But all of this rain won't stop me wearing my new summery pumps!


They suit the rain and the sun, just not the really big puddles!


I think I need to go shopping for new summer pumps! These ones aren't going to last five minutes the amount I'm wearing them.
And wouldn't it be nice to have a shoe rack full of different coloured pastel pumps?
...now to convince Lewis that this is a great idea...

:)

x

Thursday, 20 February 2014

A Toy Box DIY


 How to make fun little toy boxes out of used milk cartons:

Do you find that you've got far too many baby bits and bobs lying around the house without a home?
Here's a super simple way to keep things tidy but still an attractive decoration and easy to personalise!


Make sure you have thoroughly washed out your box and it's completely dry.


First cut the top off at your desired height. If you want a shallower box, simply cut further down from the top.


Then, using a basic acrylic paint of your choice, start painting your box! 
A couple of coats will be needed to cover the writing,
and if you want the box to be more hard wearing, a coat of gloss or PVA should give it a nice finish.


To cover those raggedy edges up and give the box a homely feel, I felt a cosy crochet cuff would work lovely, or even a fabric one would work too.


Crochet cuff:
  • Cast on and chain stitch to the circumference of your box
  • Then undo 3 or 4 stitches (This will make the cuff slightly tighter than the box opening so that it will hug the box close and not slip down
  • Slip stitch into the 1st chain to create a circle.
  • Then single crochet (or double crochet - depending on if you use US or UK patterns) 8 rounds
  • And cast off your stitching


You can make your cuff longer or shorter depending on how much of your box you would like to cover.

Once the paint on your box is dry, wrap your cuff around the rim of your box and fold half of it into your new toy box to give the edges a lovely finished touch.


Ta da!

A simple, cute and fun way to turn milk boxes into toy boxes!


x

Popular Posts